Developer Experience
In this section we give a description of the typical developer workflow, the suggested tools, and some useful commands.
Setting Up Local Environment
Source Code
In order to run the project locally, first we need to clone the main repository and all its submodules:
$ git clone --recurse-submodule -j4 --remote-submodules git@github.com:grupo4taller2/FI-UBER.git
The root folder should now be in the following state:
$ tree -L 1
.
├── api-gateway
├── docker-compose.yml
├── docs
├── mongodb
├── README.md
├── service-auth
├── service-metrics
├── service-payments
├── service-pricing
├── service-trips
└── service-users
Environment Variables
All microservices should be prepared to run locally. All you need to do is create
a .env and define the variables stated in the .env.example file.
Starting & Stopping Containers
Run the following command to build and run all containers
$ docker compose up build | colout "fiuber.api-gateway.dev" yellow | colout "fiuber.service-trips.dev" blue | colout "fiuber.service-users.dev" green | colout "fiuber.service-pricing.dev" purple | colout "fiuber.service-payments.dev" red
See also
The build argument is optional if you’ve already built all containers before
To stop and remove started containers, you can run docker compose down.
Running Integration Tests
Integration tests are run in the API Gateway. We chose this approach for several reasons:
Us being in control of all microservices allowed to specify each functionality using acceptance tests.
Automated tests served as examples of consuming the API.
Testing the Gateway against real microservices running locally gave us confidence as we developed each functionality
Having regression tests assured that new features did not break old working ones.
After such an encouraging preamble, here’s the command:
$ docker exec -it fiuber.api-gateway.dev npm run cucumber
Suggested Tools
IDE: Visual Studio Code
Website: https://code.visualstudio.com/
Alongside Intellisense and debugging utilities, some extensions made developing easier:
Dev Containers: enables working without installing a single dependency in the developer’s computer.
Peacock: allows theming each VSCode workspace with a custom color.
Todo Tree: provides hihglighting for
TODOsandFIXMEs.
Shell output formatting: colout
Website: https://nojhan.github.io/colout/
This tool allows coloring output with pattern matching. Having a certain color assigned to each microservice allowed us to quickly find logs and the corresponding IDE window.
Local Log Monitoring
$ docker compose up | colout "fiuber.api-gateway.dev" yellow | colout "fiuber.service-trips.dev" blue | colout "fiuber.service-users.dev" green | colout "fiuber.service-pricing.dev" purple | colout "fiuber.service-payments.dev" red
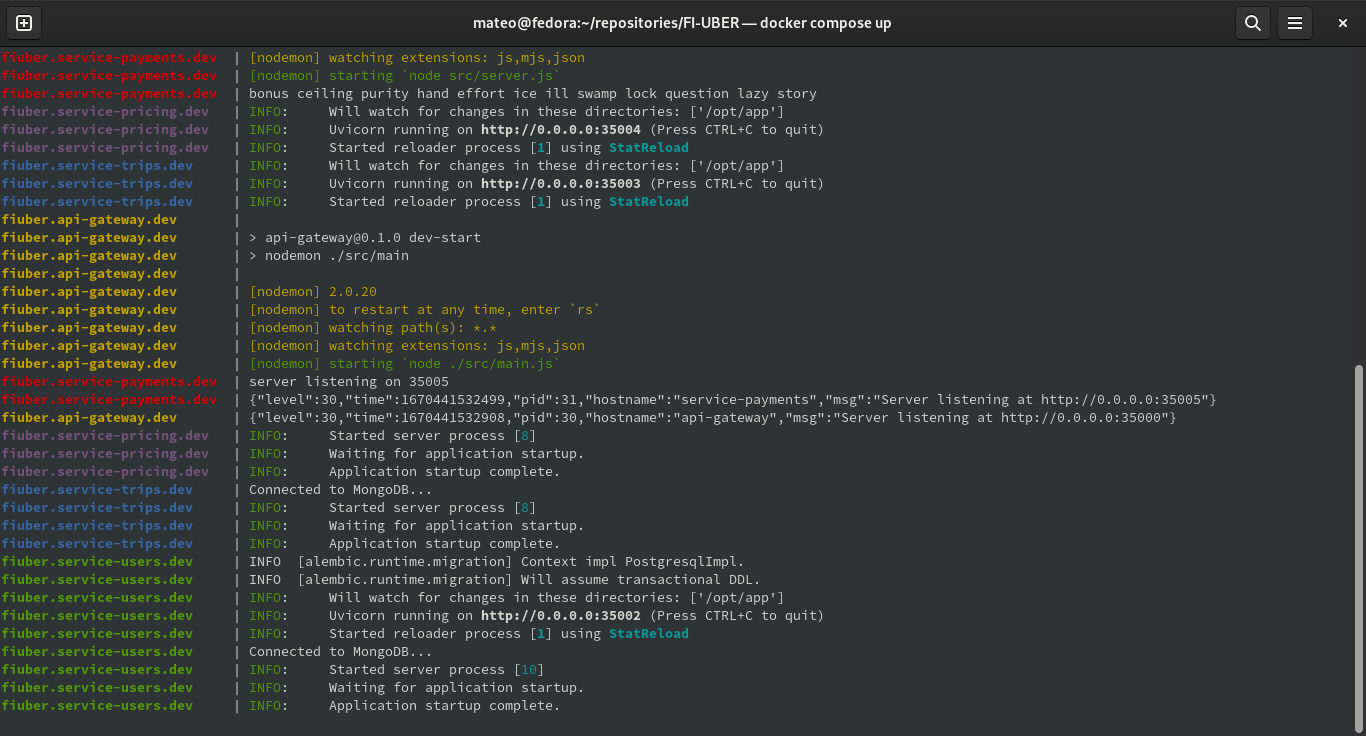
Some text … (will be displayed on the right of the image)
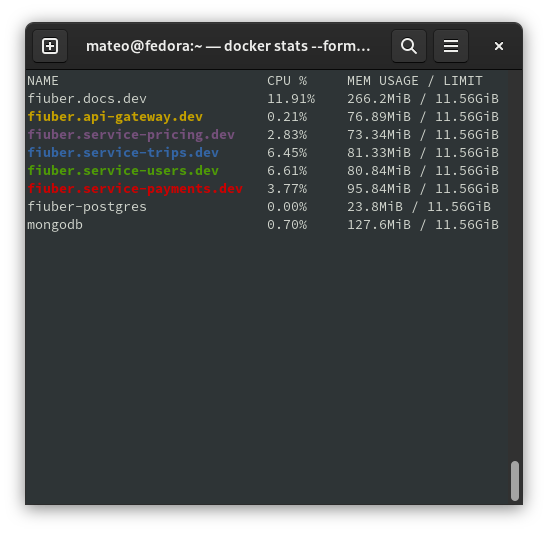
Memory & CPU Usage
The following code snippet can be used to monitor resource usage in each container:
$ docker stats --format "table {{.Name}}\t{{.CPUPerc}}\t{{.MemUsage}}" | colout "fiuber.api-gateway.dev" yellow | colout "fiuber.service-trips.dev" blue | colout "fiuber.service-users.dev" green | colout "fiuber.service-pricing.dev" purple | colout "fiuber.service-payments.dev" red
Developing Inside Docker Containers
Using the suggested VSCode extensions enables linting, debugging, troubleshooting and Intellisense inside each container, as seen in the video below: